
Development Environments#
Setup#
The most critical step in learning to write any programming language is having a working editor or IDE (integrated development environment.) The following steps will be used to install and set up an editor / IDE for you. First, you will need to decide which operating system you will be working on, then we can get the appropriate software, drivers, and set up a path environment, if need be.
CLion Academic Account Setup & CLion Installation#
WindowsOS#
CLion for WindowOS#
- Install CLion
You can download the latest version of CLion from the official website and install it on your Windows machine.
- Install MinGW
MinGW is a collection of GNU compilers for Windows that includes g++. You can download the installer from the official website and follow the instructions to install it on your Windows machine.
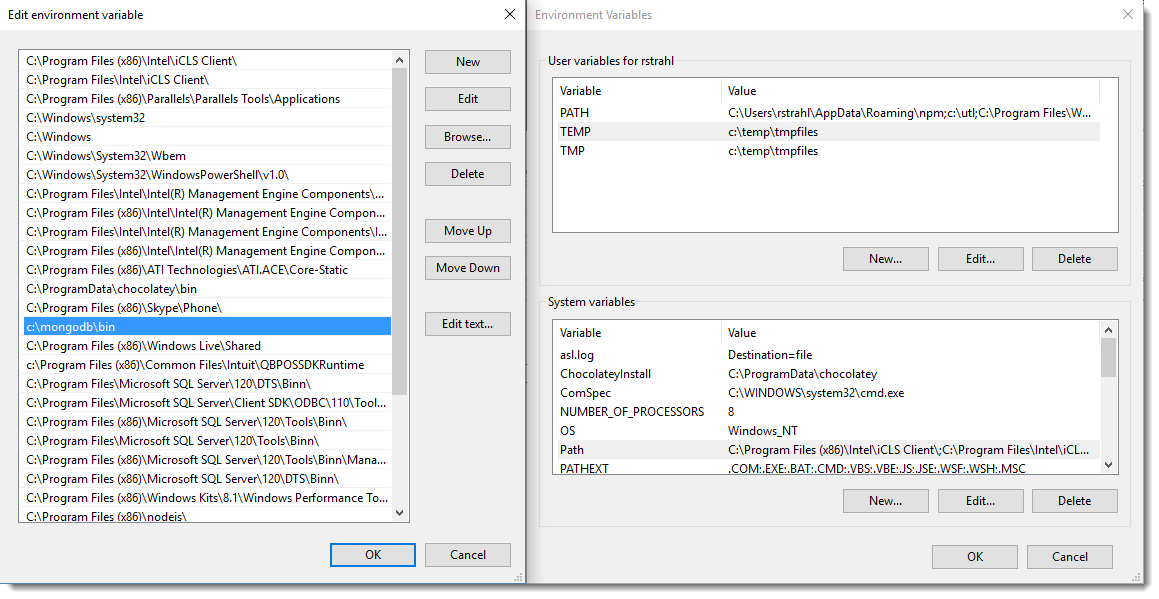
- Add MinGW to the PATH environment variable
After installing MinGW, you need to add its \(bin\) directory to the \(PATH\) environment variable. To do this, open the \(System\ Properties\) dialog box, click on the Advanced tab, and then click on the Environment Variables button. In the System Variables section, scroll down and find the Path variable. Click on Edit, then click on New and add the path to the bin folder of your MinGW installation (e.g., \(C:\MinGW\bin\)). Click OK to close all the dialogs.
- Configure the CMake toolchain in CLion
In CLion, go to File ->
Settings -> Build, Execution, Deployment -> Toolchains. Click on the + icon to add a new toolchain. Choose MinGW as the compiler type and provide the path to the MinGW installation directory (e.g., \(C:\MinGW\)) as the CMake executable path. Click OK to save the toolchain. - Create a new C++ project
In CLion, go to File -> New Project. Choose C++ as the project type and select the toolchain you just created. Give your project a name and choose a location to save it.
- Write and run your code
Once you’ve created your project, you can start writing your code in the main.cpp file. To run your code, click on the Run button in the top toolbar or use the Ctrl+Shift+F10 shortcut.
Mac OS#
CLion for MacOS#
Setting up CLion on macOS using the g++ compiler, follow these steps:
Download and install CLion from the JetBrains website.
Install Xcode and its Command Line Tools from the App Store or the Apple Developer website. This will include the g++ compiler.
Open CLion and create a new project.
In the “New Project” dialog, select “C++ Executable” and give your project a name.
In the “Build Type” dropdown, select “Debug” or “Release” depending on your needs.
Under “C++ Compiler,” select “Apple Clang” from the dropdown. This is because Xcode includes the Clang compiler, which is the default C++ compiler on macOS.
Under “C++ Standard,” select the version of the C++ standard you want to use for your project.
Under “C++ Compiler,” click the gear icon next to “Compiler executable” and select “Custom.”
In the “Custom compiler executable” dialog, enter the path to the g++ compiler. The path should be /usr/bin/g++.
Click “OK” to close the dialog and save the changes.
CLion should now be set up to use the g++ compiler on macOS. You can write and compile C++ code using CLion as you would with any other IDE.